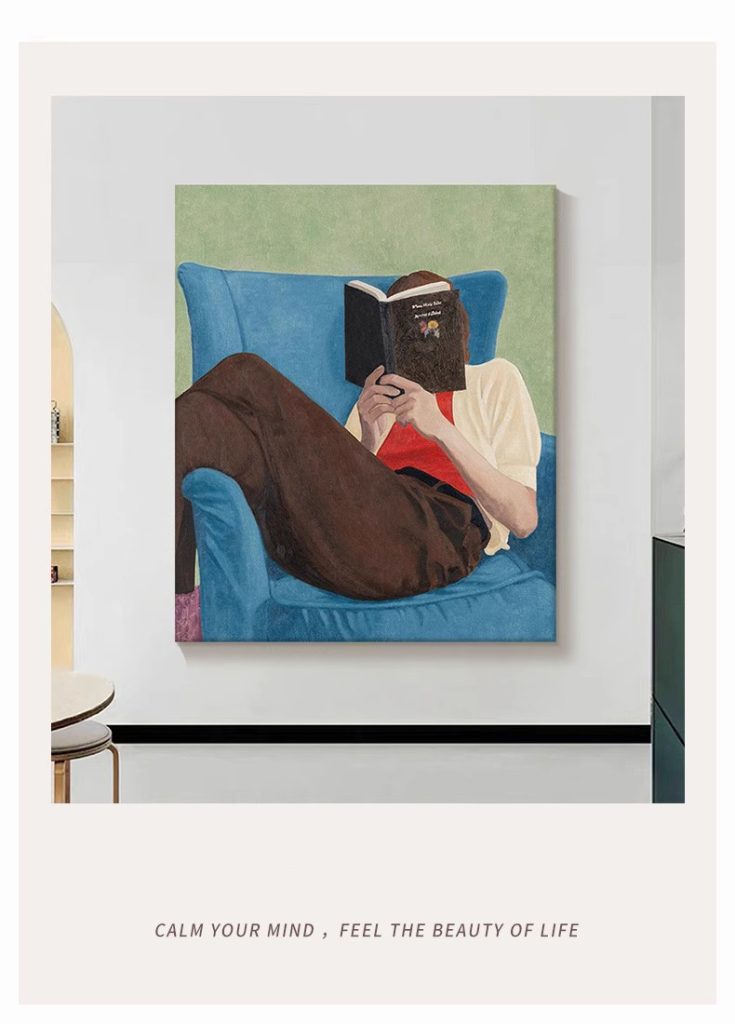
Mastering Hand-Painted Oil Art Copying: Techniques and Key Considerations
Copying classical or contemporary oil paintings is a time-honored method for improving technical skills, understanding composition, and developing artistic intuition. Whether you’re a beginner or an intermediate learner, approaching copying with intentionality ensures meaningful progress. Below are structured methods and critical points to guide your practice.
Selecting the Right Reference Work
Choosing a suitable painting to copy is the first step toward productive practice. Opt for works that align with your current skill level and learning goals. Beginners might start with simple compositions featuring limited color palettes and clear shapes, such as still-life paintings or landscapes with minimal detail. As you advance, tackle more complex subjects like portraits or figures, which demand greater attention to anatomy and expression.
Consider the artist’s style and techniques. If you aim to improve brushwork, select a painting known for its textured strokes or glazing layers. For color studies, choose works with bold or nuanced color relationships. Ensure the reference image is high-resolution and well-lit to capture subtle details. If possible, view the original artwork in person or access multiple angles through online galleries to study its physical qualities.
Analyzing Composition and Structure
Before applying paint, thoroughly examine the original’s composition. Identify the focal point—the area that draws the viewer’s eye—and observe how the artist uses lines, shapes, and contrast to guide attention. For example, note how diagonal lines create movement or how overlapping elements establish depth. Sketch a thumbnail of the composition to simplify its structure and understand the balance between positive and negative space.
Break down the painting into sections to avoid feeling overwhelmed. Focus on one area at a time, such as the background, middle ground, or foreground, while keeping the overall harmony in mind. This segmented approach helps you replicate proportions accurately and maintain consistency across the canvas.
Layering Techniques and Color Matching
Oil painting’s slow drying time allows for layering, a technique critical to achieving depth and realism. Begin with a thin underpainting—a monochromatic or limited-color layer that establishes values and forms. This foundation guides subsequent layers, ensuring accuracy as you build complexity.
When matching colors, avoid relying solely on the tube hue. Observe how the original artist mixes pigments to create specific tones. For instance, a green might be achieved by combining blue and yellow with a touch of red to neutralize it. Use a palette knife to mix large batches of color consistently, and test swatches on scrap canvas to compare with the reference.
Apply paint in thin glazes for translucent effects or thick impasto for bold textures, mimicking the original’s surface quality. Allow each layer to dry partially before adding the next to prevent muddiness, especially when working with complementary colors.
Studying Light and Shadow Dynamics
Light and shadow define form and create dimensionality in oil paintings. Analyze how the original artwork portrays light sources—their direction, intensity, and color temperature. Note the transition from highlights to midtones and core shadows, as well as reflected light that softens dark areas.
Replicate these effects by adjusting your paint application. Use a dry brush to blend edges smoothly or a stiff brush to create sharp contrasts. For realistic shadows, mix colors rather than using pure black, incorporating blues or browns to reflect environmental light. Pay attention to cast shadows, which reveal the spatial relationship between objects and their surroundings.
Capturing Detail and Texture
Details bring a painting to life, but they must be integrated thoughtfully. Prioritize areas that contribute to the focal point or narrative, such as the texture of fabric, the sparkle in an eye, or the roughness of bark. Use smaller brushes or palette knives for precision, and vary your stroke direction to match the original’s texture.
Avoid overworking details early in the process. Wait until later layers to add fine elements, ensuring they sit naturally within the composition. Step back frequently to assess whether the details enhance the overall impact or distract from it.
Comparing and Refining Your Work
Regularly compare your copy to the original to identify discrepancies. Place them side by side or use a mirror to view your painting in reverse, which highlights inconsistencies in proportion or color. Take notes on areas needing adjustment, such as correcting a skewed perspective or brightening a dull tone.
Be patient and iterative—refining a copy may require multiple sessions. Focus on one issue at a time, such as adjusting values before tackling color, to maintain clarity in your corrections. Remember that the goal is not perfect replication but learning through observation and practice.
By approaching copying as a study tool rather than a final product, you’ll gain deeper insights into oil painting techniques and artistic decision-making. This process cultivates the skills needed to develop original works while honoring the traditions of the medium.
